Hello lovelies! And so begins my polish blog. A bit about me first- I am a redditor-turned-lacquerista. I was browsing reddit one day and I came across Reddit Laqueristas. I instantly became (unhealthily) obsessed with nail polish and started to grow my nails, acquire more polishes, and improve my nail art skills. I am an artist, so I thought of nail polish as a whole new media to explore, and I absolutely love it. This blog will focus a lot on easy nail art tutorials and reviews of cheaper polishes (living that broke college student life ;) ). Thank you so much for reading and I look forward to lots of fun, pretty nails in the future! Let's get started!
Easy Leopard Print
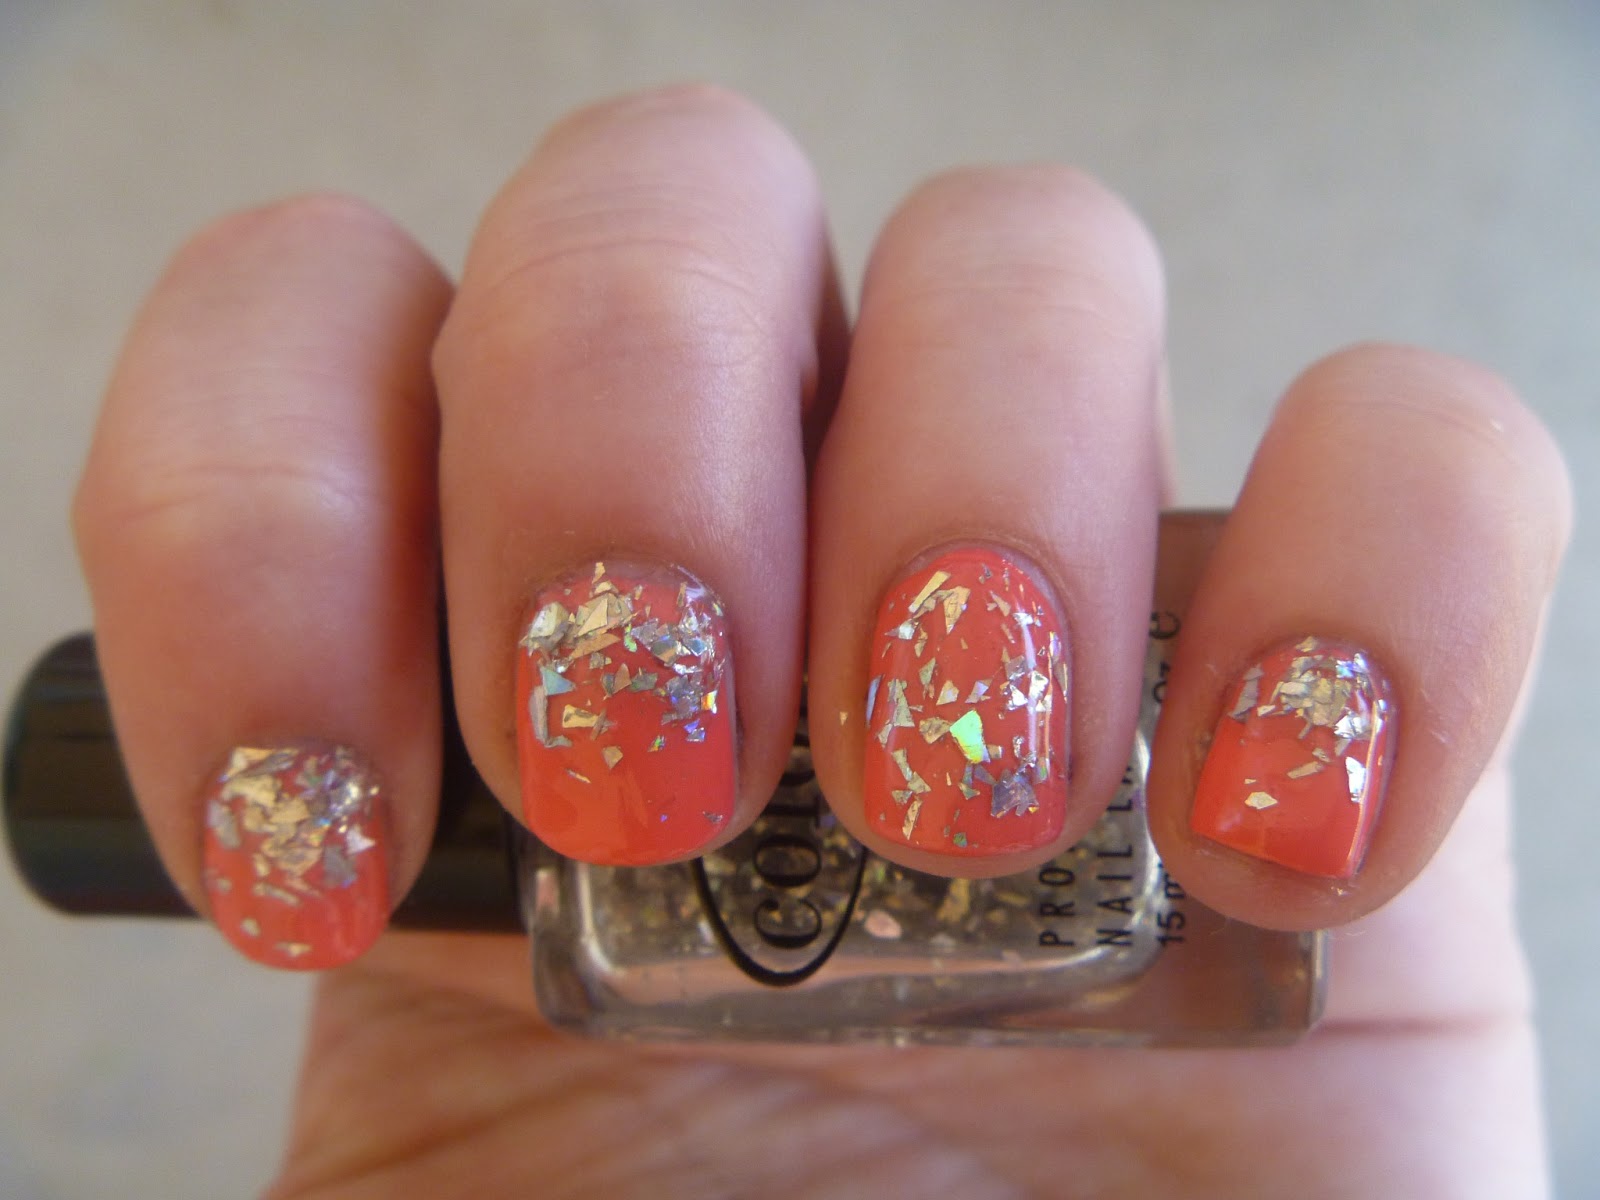
In sunlight
In shade
This is the look I will show you how to do! Leopard print is such a fun summer design that is CRAZY easy to do. You can use the same colors for each nail, or alternate like I did here.
The polishes I used (from left to right):
Essie Grow Faster base coat, Nicole by OPI Look at Me Look at Me, Illamasqua Collide, Essie Butler Please, Rimmel 60 Seconds Hot Black to Go, inm Out The Door topcoat
Here are very similar colors for a much lower price: Sally Hansen Hard as Nails Xtreme Wear Celeb City, SH Xtreme Wear Pink Punch, Pure Ice French Kiss (SH Xtreme Wear Pacific Blue is an almost exact dupe for Butler Please, but I do not personally own it- French Kiss dries a good bit darker than it looks in the bottle)
The only tools you will need is something to hold the polish (plastic wrap, aluminum foil, and lids are cheap alternatives to a paint palate) and a dotting tool (bobby pins or the head of a sewing pin work just as well!)
On to the tutorial!
This is the look I will re-create on my swatch wheel:
To begin, paint the nail with 2 coats of your silver. I used Nicole by OPI Look at Me Look at Me.
Put a few drops of your pink onto your makeshift palate (I used Illamasqua Collide). Dip your dotting tool into the polish!
Make a few oval-shaped blobs on your nail. It's okay if they go off the nail! Try and tilt them in different directions to make it more realistic.
Sorry for the noob picture- Its hard to paint and take a picture with my left hand at the same time!
Now put your black polish onto your palate and load your dotting tool!
Next, add the outer part of the spots (I call them brackets). There are two types you can make- two small c-shapes around the short ends of the spot like parenthesis or one large c-shape around one long end of the spot. Here are the two different types:
The parenthesis style is on the bottom, and the large c-shape is on top.
Make brackets around all the spots, trying to alternate which style you use.
Finally, add small black dots in the empty spaces. This is what really brings the design together- it's subtle, but it makes a huge difference!
Voile! The last step is to cover your design in a topcoat of your choice to protect it. I went ahead and did the same steps with the cheaper polishes right next to the one I just showed you:
Nicole by OPI Look at Me Look at Me is pretty different from SH Xtreme Wear Celeb City, but you get almost the exact same look for a lot less- if you used the cheaper polishes I showed you instead of the ones I used, you would save about $26!
So, hopefully this tutorial was helpful to you! If you would like me to review any of the polishes I used let me know. Do you like this look? Have you tried leopard print before? Has this tutorial inspired you to try it? Let me know! Thank you so much for reading and I look forward to many more easy, pretty, real girl polish looks!